

Understanding Member Roles
Roles control what someone can manage in a space:Owner
Full Control
- Member management
- Space settings and configuration
- Billing and seat management
- Can delete space
Admin
Team Management
- Member management
- Space settings and configuration
Member
Scheduling
- Creates and manages their own polls and events
Roles do not control who can see whose polls and events — that is decided by
the space’s collaboration setting, which applies to
every role equally.
Inviting New Members
Prerequisites
Before inviting members, ensure:- You have admin or owner permissions
- Your space has available seats
- You have the email addresses of people you want to invite
Invitation Process
1
Navigate to Members
Go to your space settings and click on the “Members” tab.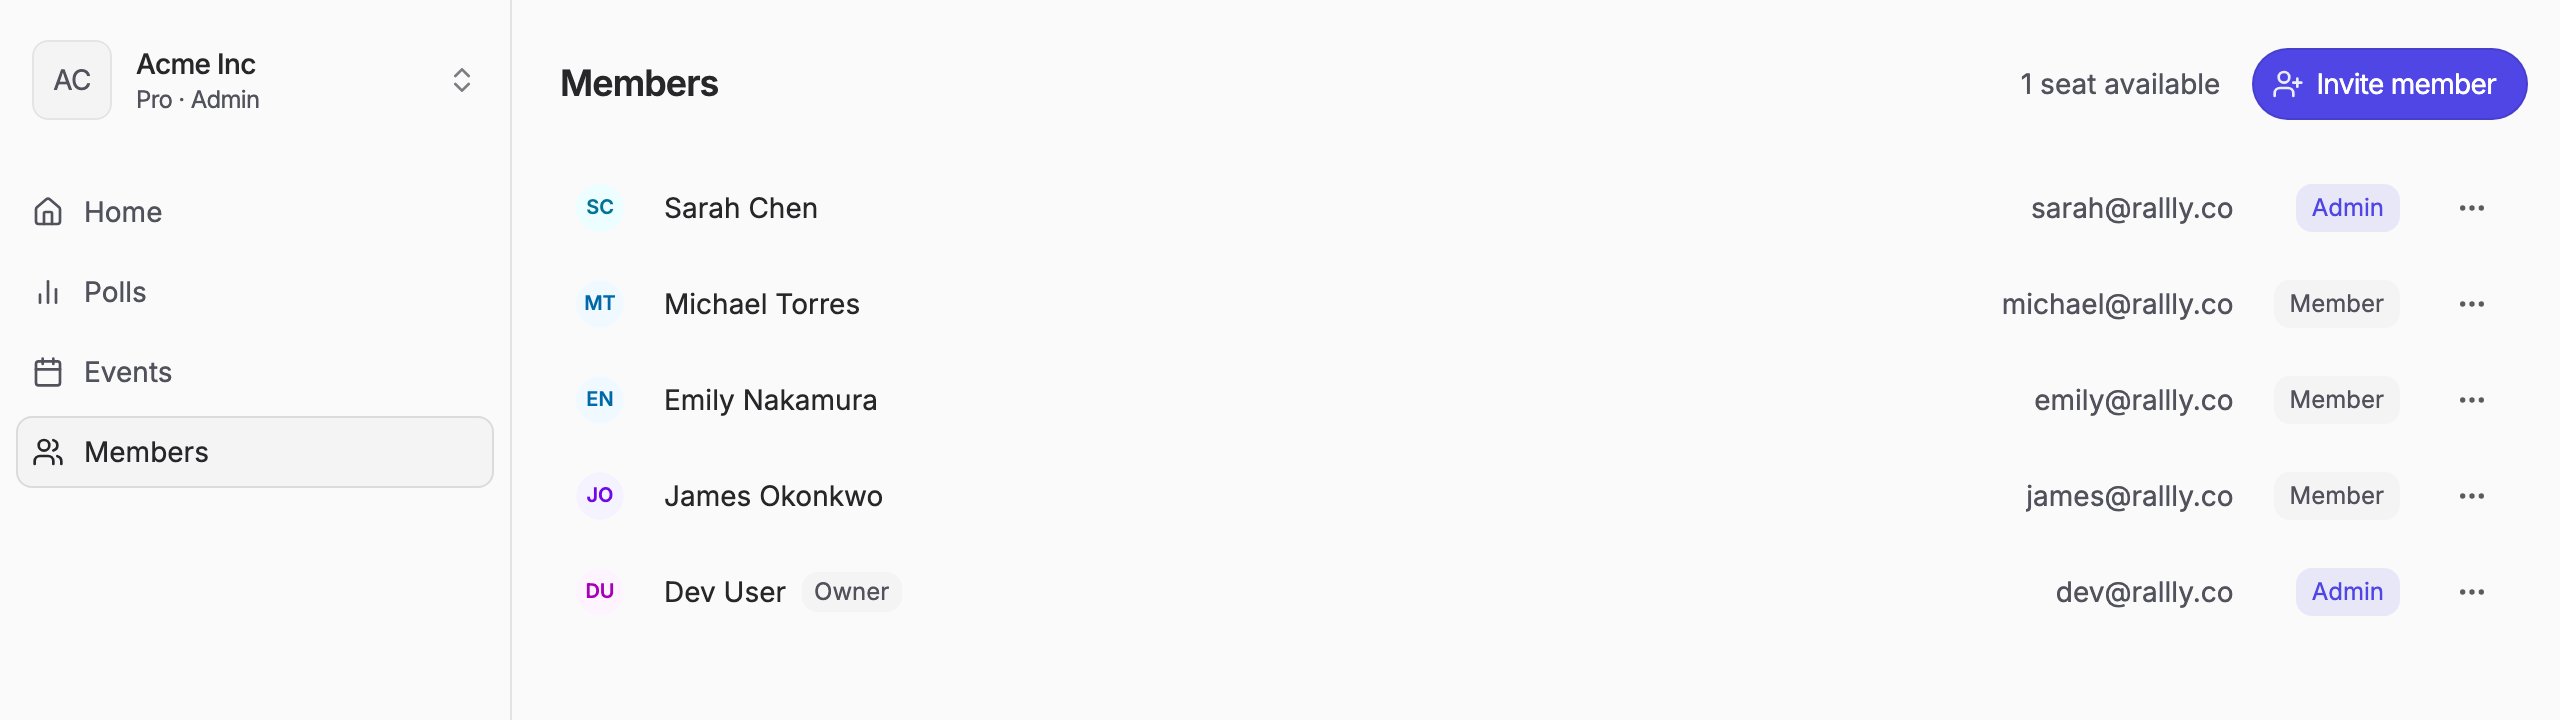
2
Send Invitation
Click “Invite member” and enter the email address of the person you want to invite.
The person will receive an email invitation with instructions to join your space.
3
Set Initial Role
Choose the appropriate role for the new member:
- Member: For most team members who need collaboration access
- Admin: For trusted team leads who should manage other members
4
Monitor Pending Invites
Track invitation status in the “Pending Invites” section until the person accepts.
Managing Existing Members
Changing Member Roles
To change a member’s role:- Find the member in your member list
- Click the dropdown menu next to their name
- Select “Change Role” and choose the new role
- Confirm the change - it takes effect immediately
Removing Members
To remove a member from your space:- Locate the member you want to remove
- Click the dropdown menu and select “Remove member”
- Choose what happens to their content and confirm
What happens to their content
If the member created anything in the space, the dialog lists it in two groups:- Active: open polls, upcoming events, event types and sheets
- Finished: closed polls and past or canceled events
- Reassign: everything moves to another member, active and finished alike. They become its organizer: they get its notifications, can manage it, and appear as the organizer in calendar invites. Each reassigned poll records the change in its activity.
- Delete: polls, event types and sheets are deleted. Upcoming events are canceled and their attendees get a cancellation email; past events are deleted without notifying anyone.
Managing Pending Invitations
Invitation States
Invitations can be in several states:- Pending: Invitation sent, waiting for acceptance
- Expired: Invitation has expired and needs to be resent
- Accepted: Person has joined your space
Canceling Invitations
To cancel a pending invitation:- Locate the pending invite
- Click “Cancel” to revoke the invitation
- Confirm the cancellation - the invitation link will no longer work
Seat Management and Members
Seat Allocation
- Used Seats: Equal to your current member count
- Available seats: How many more members you can invite
- Total Seats: Your current subscription level
Adding Members vs Adding Seats
1
Check available seats
Before inviting someone, verify you have available seats in your billing settings.
2
Purchase Additional Seats (if needed)
If you’re at capacity, increase your seat count through billing management first.
3
Send Invitation
Once you have available seats, you can invite new members immediately.
Troubleshooting Common Issues
Invitation emails not being received
Invitation emails not being received
- Check spam/junk folders
- Verify the email address is correct
- Resend the invitation
- Ask the recipient to whitelist rallly.co emails
Cannot invite new members
Cannot invite new members
- Check if you have available seats
- Verify you have admin or owner permissions
- Ensure your subscription is active
- Try refreshing the page and trying again
Member lost access after role change
Member lost access after role change
- Verify the role change was intentional
- Check if the member’s permissions match their new role
- Have the member log out and log back in
- Contact support if issues persist
Cannot remove a member
Cannot remove a member
- Ensure you have admin or owner permissions
- Try using the member dropdown menu instead of bulk actions
- Contact support for assistance